- Type: Tool
- SKU: copperheadimi1-1
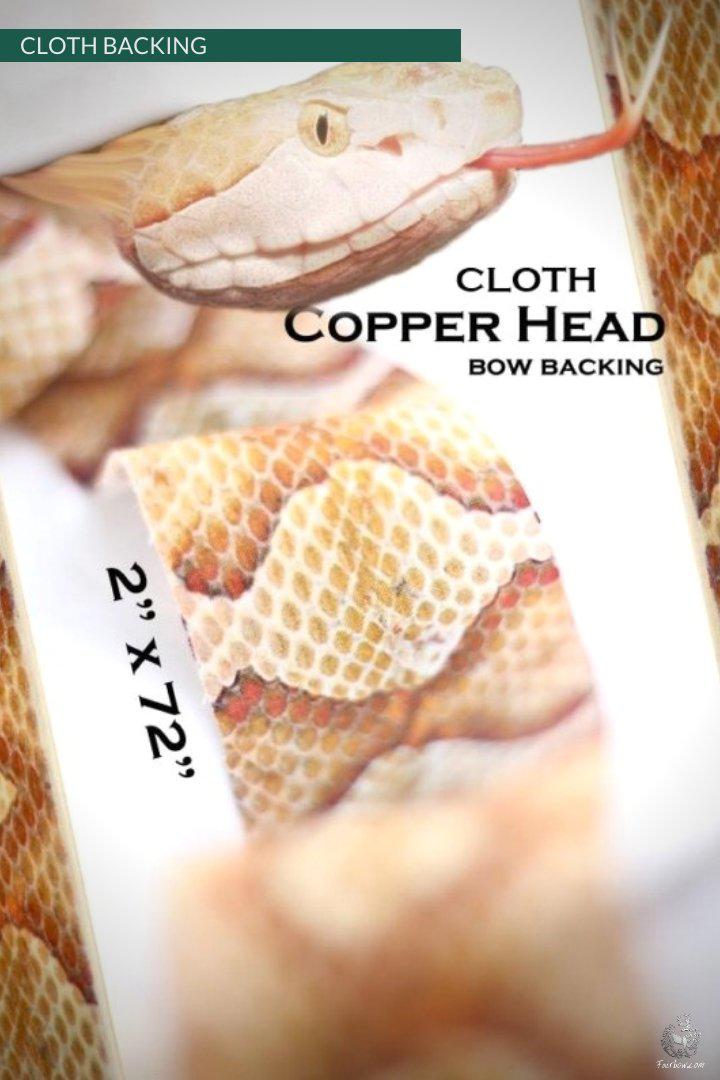
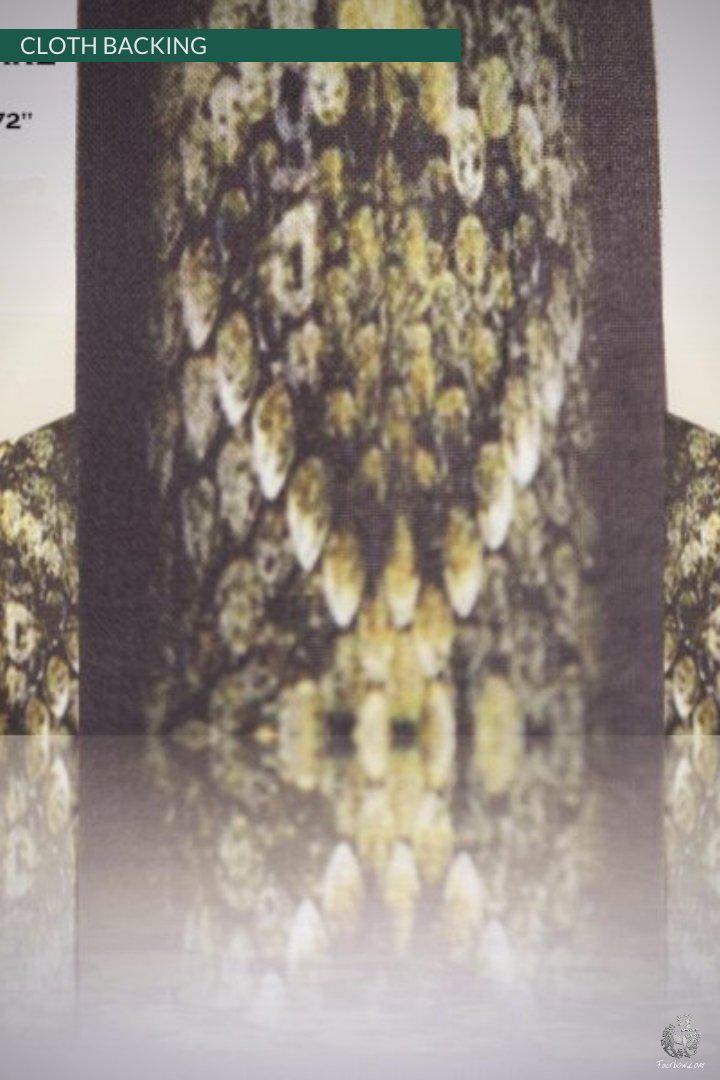
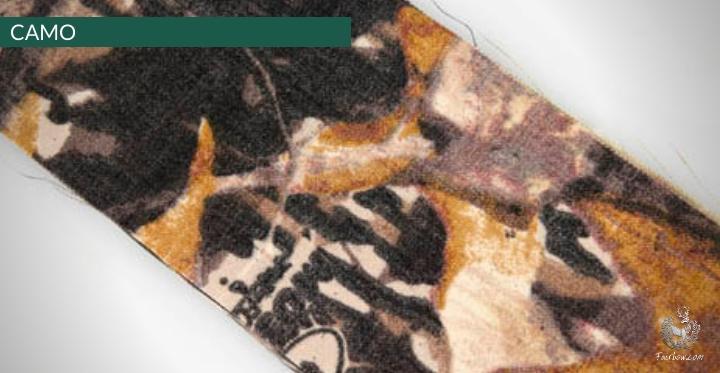
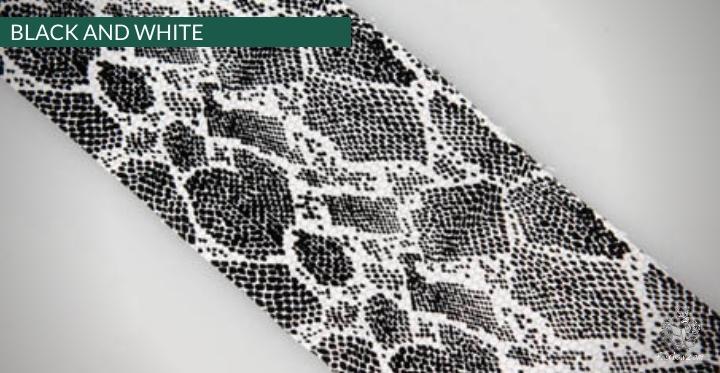
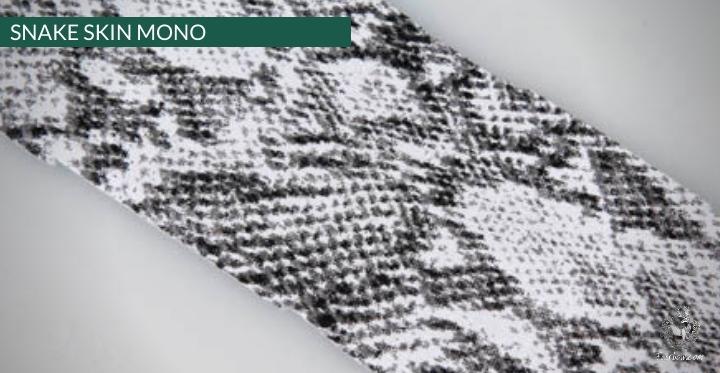
SNAKESKIN CLOTH BACKING
€23,95
Unit price
per
Only 11 left in stock
In stock
Only 4 left in stock
In stock
Guaranteed safe & secure checkout

THIS IS ONE HOT BACKING
Apply to wood, bamboo or glass bows as well as sinew backed bows!
Unlike real snakeskins this backing add tons of strength and insurance to your bow AND it only costs a fraction of what real snakeskins cost!!
Plus these are much easier to apply.
Use with bowgrip or any other 2k epoxy glue for a watertight backing.
Use with bowgrip or any other 2k epoxy glue for a watertight backing.
Or use titebond 2.
These backings are made from lite stretch cotton fabric and it will not slow your bow down. 72" long by roughly 2" wide, this print fabric should be able to cover just about any bow you have.
These backings are made from lite stretch cotton fabric and it will not slow your bow down. 72" long by roughly 2" wide, this print fabric should be able to cover just about any bow you have.
The dark area in the center for the handle area can be cut in half if you want to or leave it full length.
This is hot!
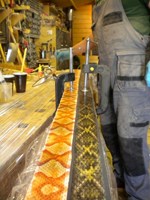
1 Cover and protect belly with masking tape


4 Apply glue
 5 Drape the backing into the glue
 6 Drape backing on the glue


This is hot!
1 Cover and protect belly with masking tape
2 Mix bow epoxy glue well and measure correct
3 Apply glue to backing side. Try to get an even spread rather thick
7 Gently tap the backing into the glue using a clean disposable brush
8 Gently push backing into the glue with the brush so it saturates
9 Push the backing into the glue gently
10 always make sure you have more to do with one glue mix
11 2 bows different backings
12 Cut of the not used ends
13 Saturation is clearly visible
14 Clamp the bow onto a straight piece of wood in the center
15 One can do 2 bows at once
16 Clamped
17 Cut off excess with a sharp blade and remove the masking tape